+ |
 |

+ |
 |
The ConvertKit integration allows you to easily transfer any list (with tags) from your ConvertKit into your DeBounce account and validate them.
DeBounce is a verified partner of ConvertKit. Find us here.
You can also use this integration to monitor ConvertKit email lists on a daily basis using DeBounce list-monitoring (or sync) feature.
Here is the step-by-step guide on how to validate your ConvertKit emails.
Before starting, you need to have a ConvertKit API key, so DeBounce can connect your ConvertKit account and transfer the lists. We already provided a blog post that includes step by step guide and lets you know how to do that. Check the article via this link.
Once you have created an API key, click on "Integrations" on the left menu. Then click on the "Connect" button in front of the ConvertKit icon.

On the next page, paste the Secret API key you have generated from the previous step, then press the "Connect". If everything is done correctly, you will see a full list of your lists (with tags) on ConvertKit. Then click on "Import" in front of the list you are going to validate. Wait until the list is successfully transferred. You may now start validating your transferred list. Please note that you need to add the emails you are going to validate to a specific tag and start validating that particular tag.

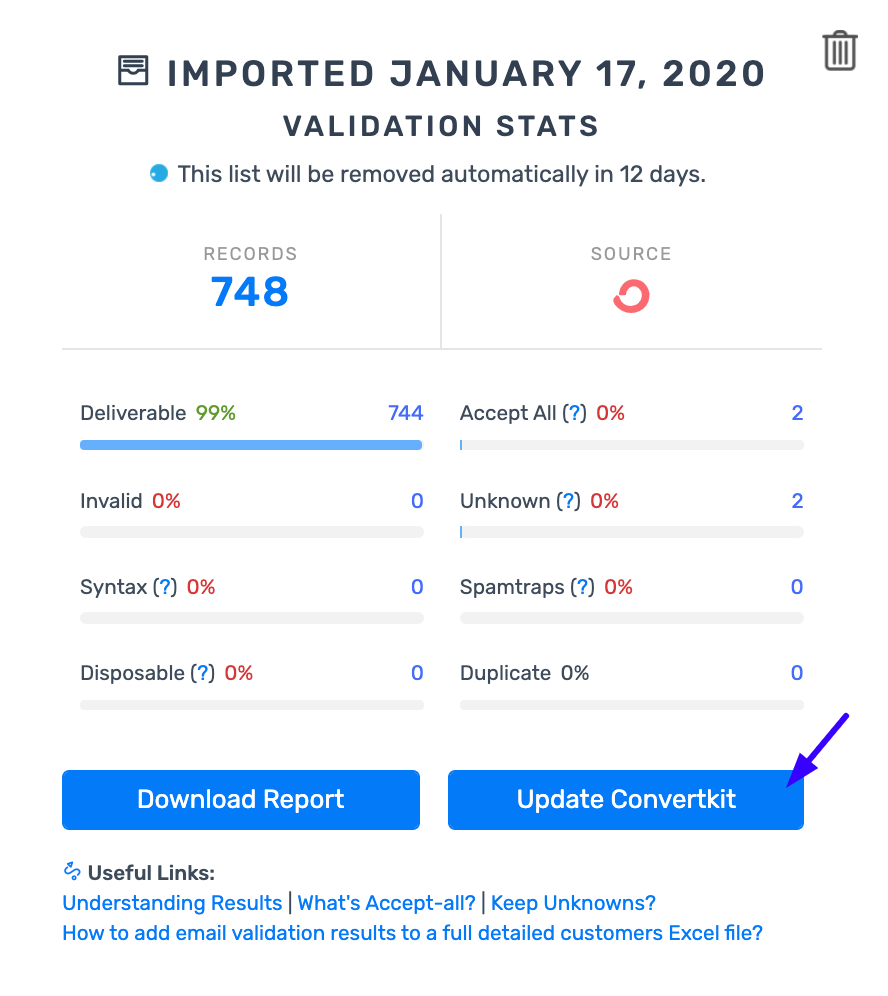
Once the validation process is finished, click on "Update ConvertKit's List".

Based on analyzing results, choose what categories are you going to suppress (for example invalid, spam-trap, and disposable emails), then click on the "Update ConvertKit's List" button. Wait some seconds for the process to finish. Selected categories will unsubscribe from your email list on ConvertKit (Cancelled status).
After removing bad emails from your ConvertKit, you can disconnect DeBounce and ConvertKit. Just navigate to the "Integration" page on DeBounce and press "Disconnect" in front of the ConvertKit logo.
